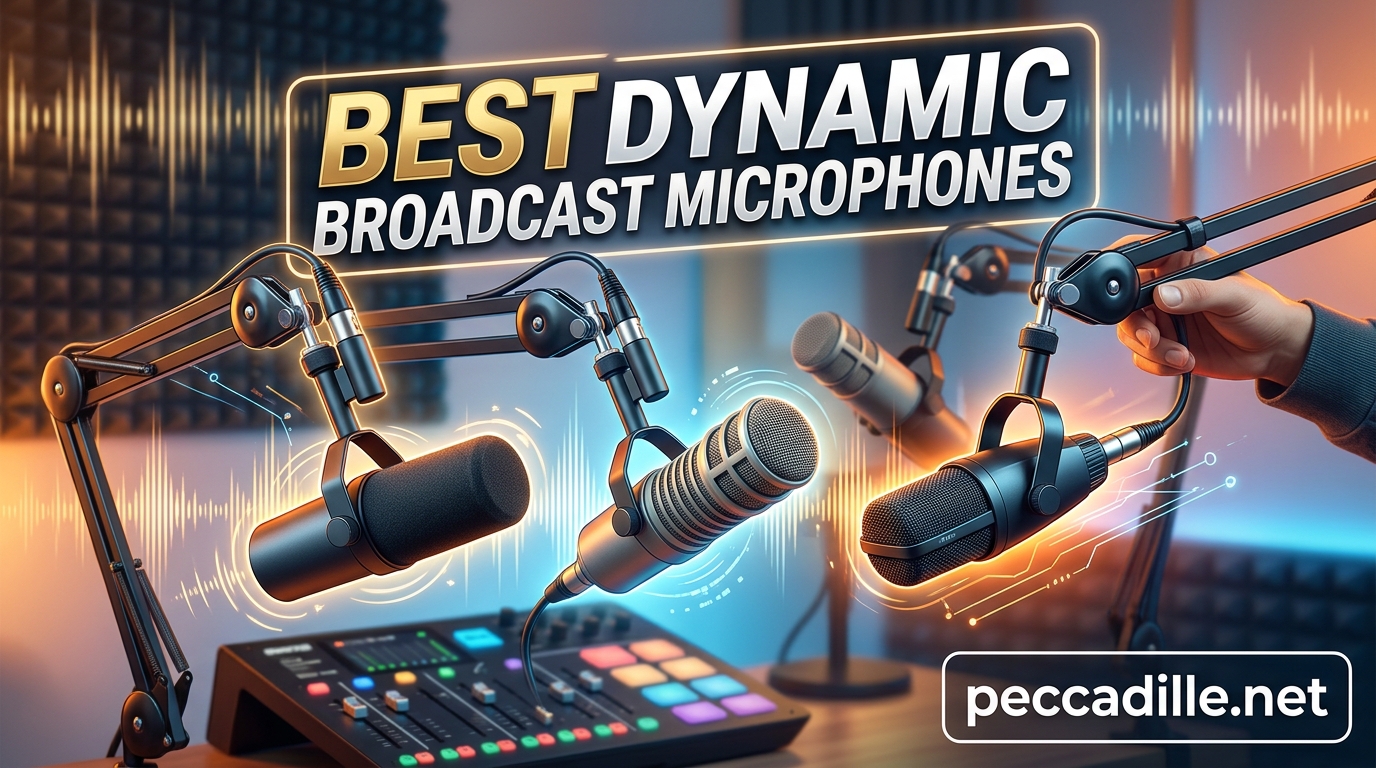
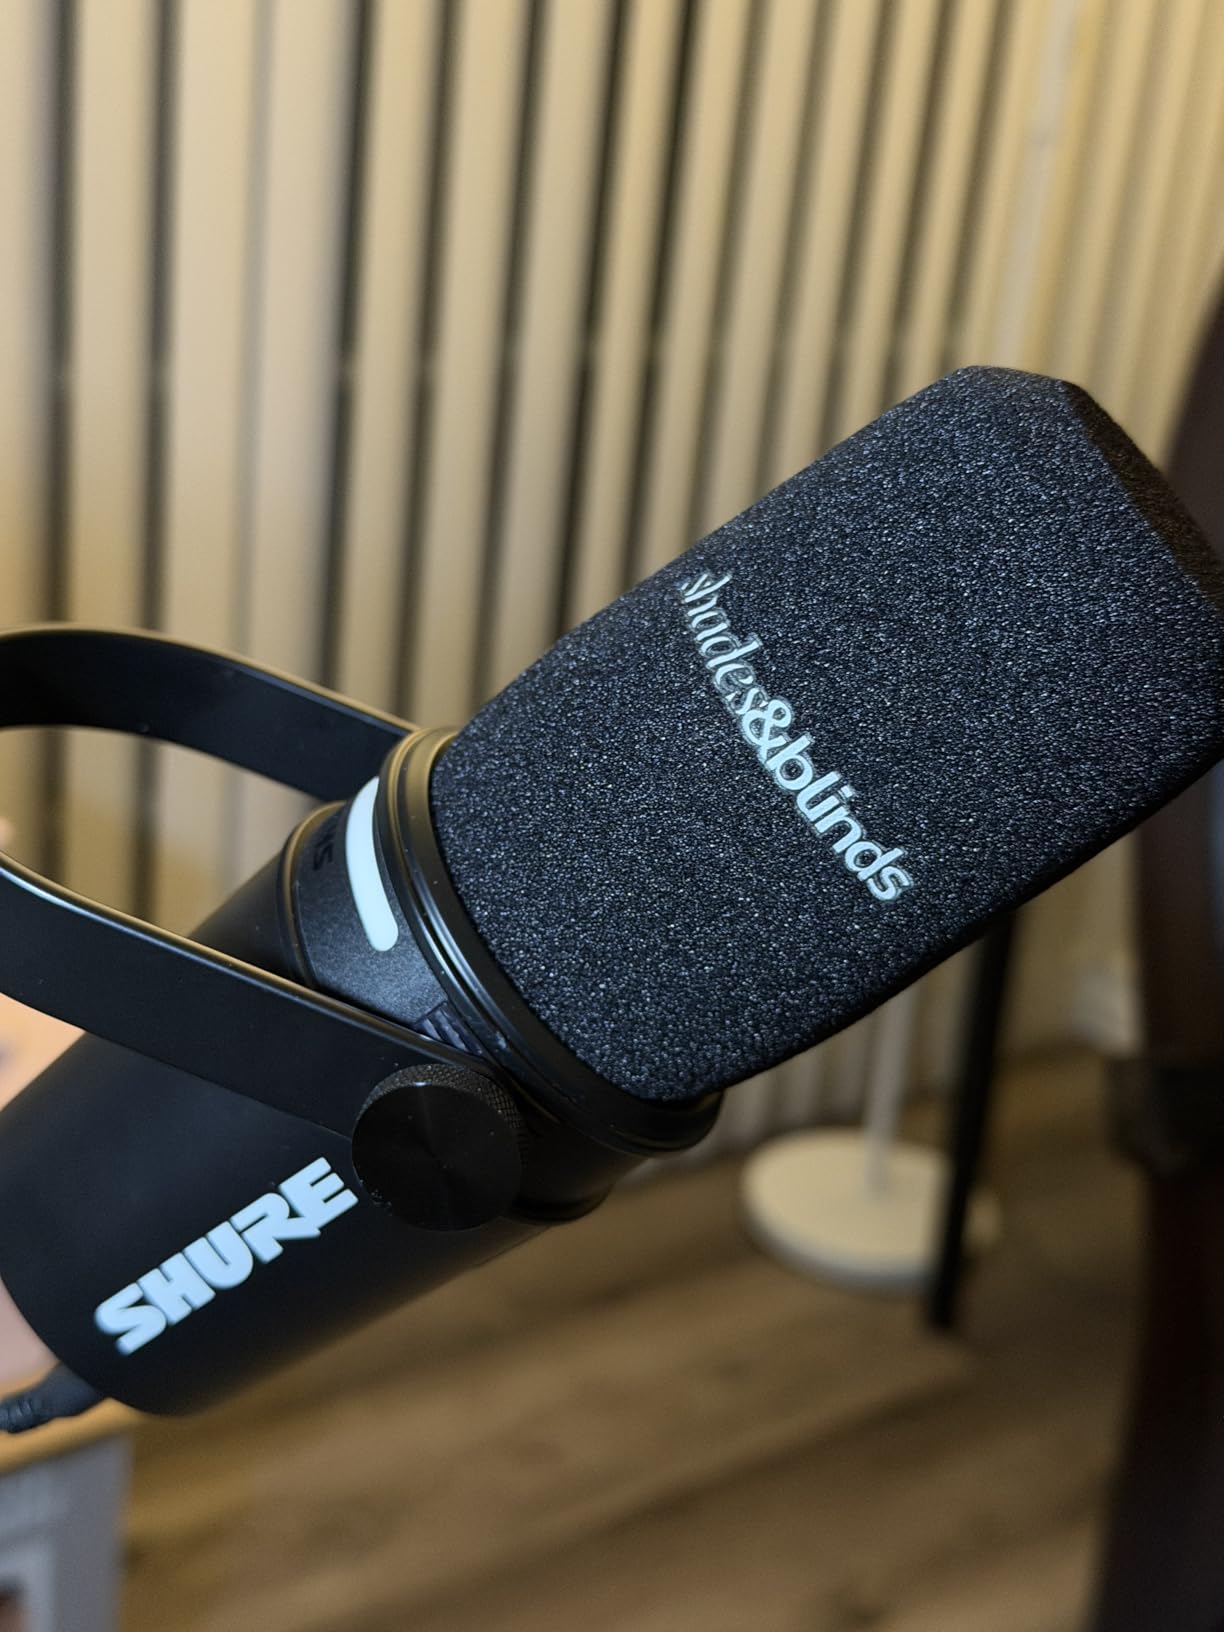
I have spent the better part of three years testing dynamic broadcast microphones across podcasting setups, streaming rigs, and voiceover booths. The right mic can make a 50-dollar interface sound professional, while the wrong one can turn a thousand-dollar chain into muddy noise. After running 13 of the most talked-about models through real recording sessions, I can tell you exactly which ones deliver.
The best dynamic broadcast microphones share three traits: excellent off-axis rejection, broadcast-tuned frequency response, and rugged construction that survives daily use. Whether you are building a home podcast studio, upgrading your Twitch stream, or recording voiceovers in an untreated spare bedroom, this guide breaks down every option by sound quality, value, and real-world performance.
Our team compared everything from the legendary Shure SM7B down to budget picks under 60 dollars. We tested each mic with the same audio chain, recorded in the same room, and evaluated them on noise rejection, warmth, clarity, and how much gain they actually need. Here is what we found in 2026.
Top 3 Picks for Best Dynamic Broadcast Microphones

Best Dynamic Broadcast Microphones in 2026
| Product | Specifications | Action |
|---|---|---|
|
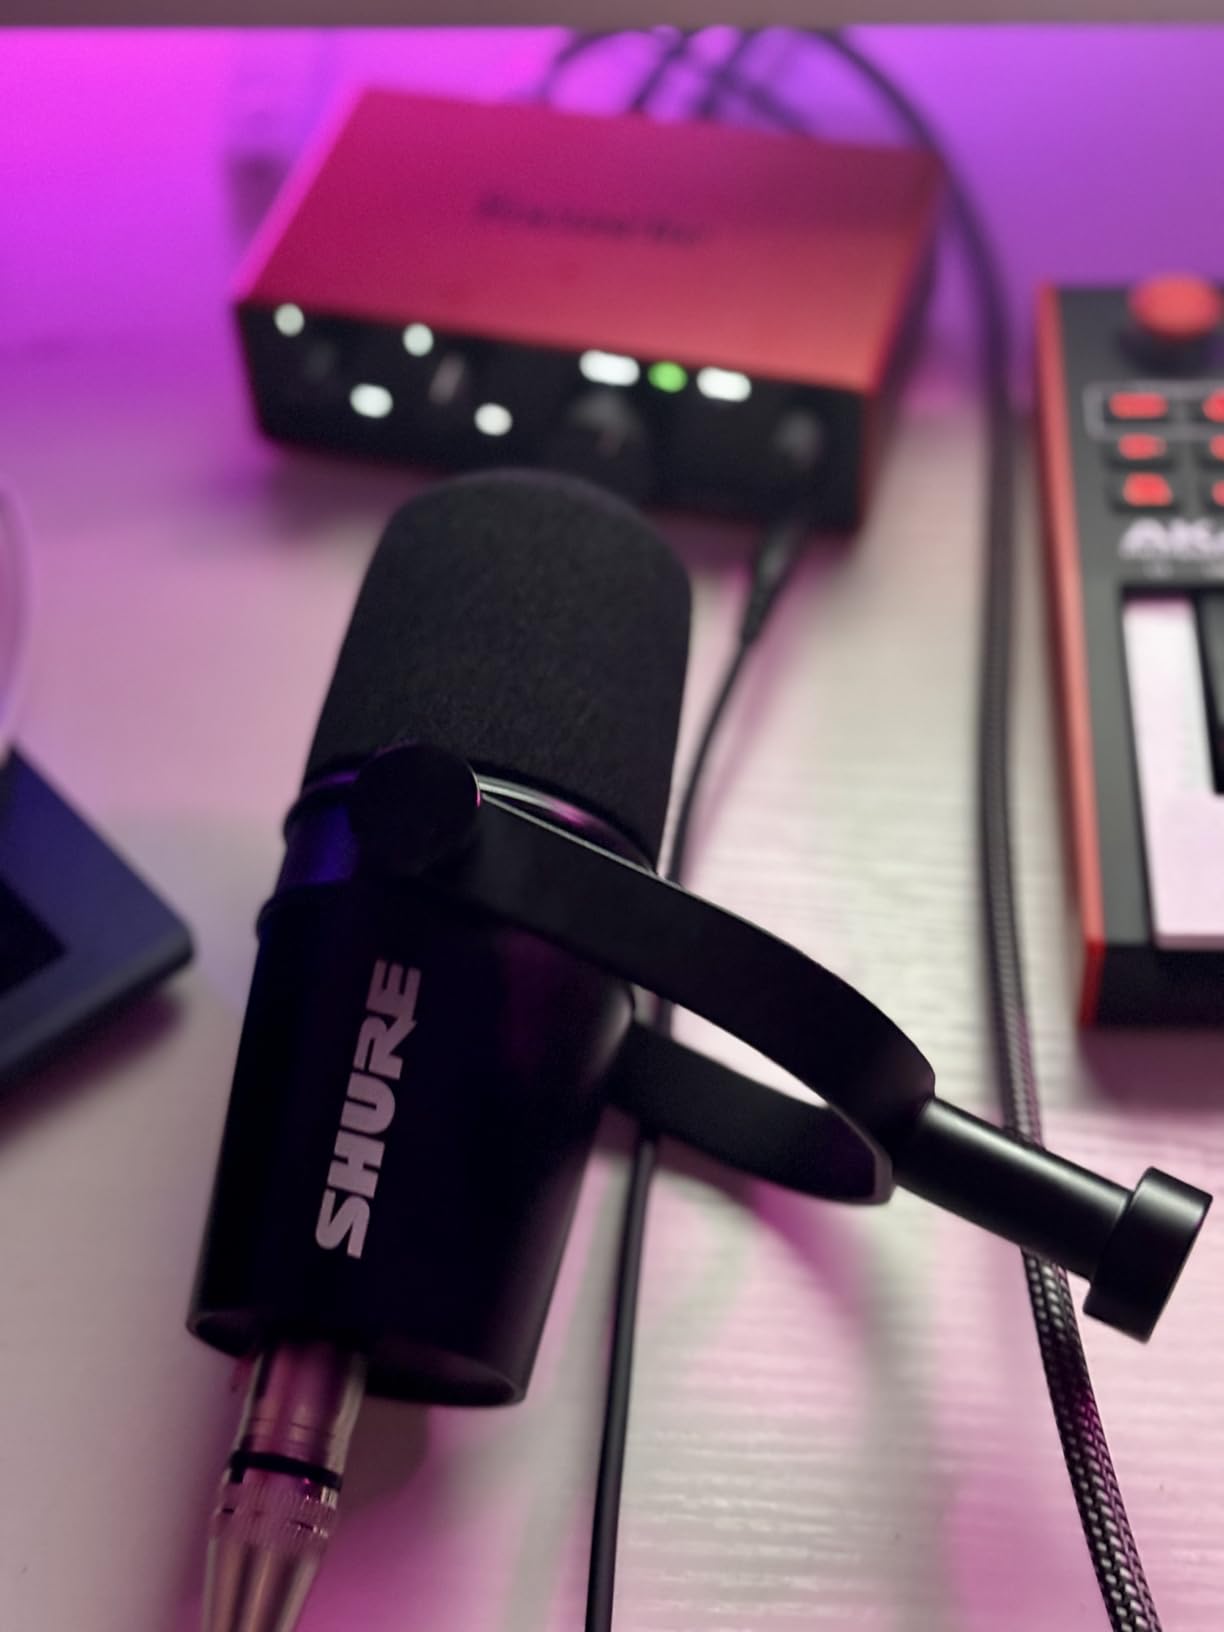
Shure SM7B
|
|
Check Latest Price |
 Shure MV7+
|
|
Check Latest Price |
 Electro-Voice RE20
|
|
Check Latest Price |
 RODE Procaster
|
|
Check Latest Price |
 RODE PodMic
|
|
Check Latest Price |
 Shure MV7X
|
|
Check Latest Price |
 Shure MV6
|
|
Check Latest Price |
 Audio-Technica AT2040
|
|
Check Latest Price |
 Elgato Wave DX
|
|
Check Latest Price |
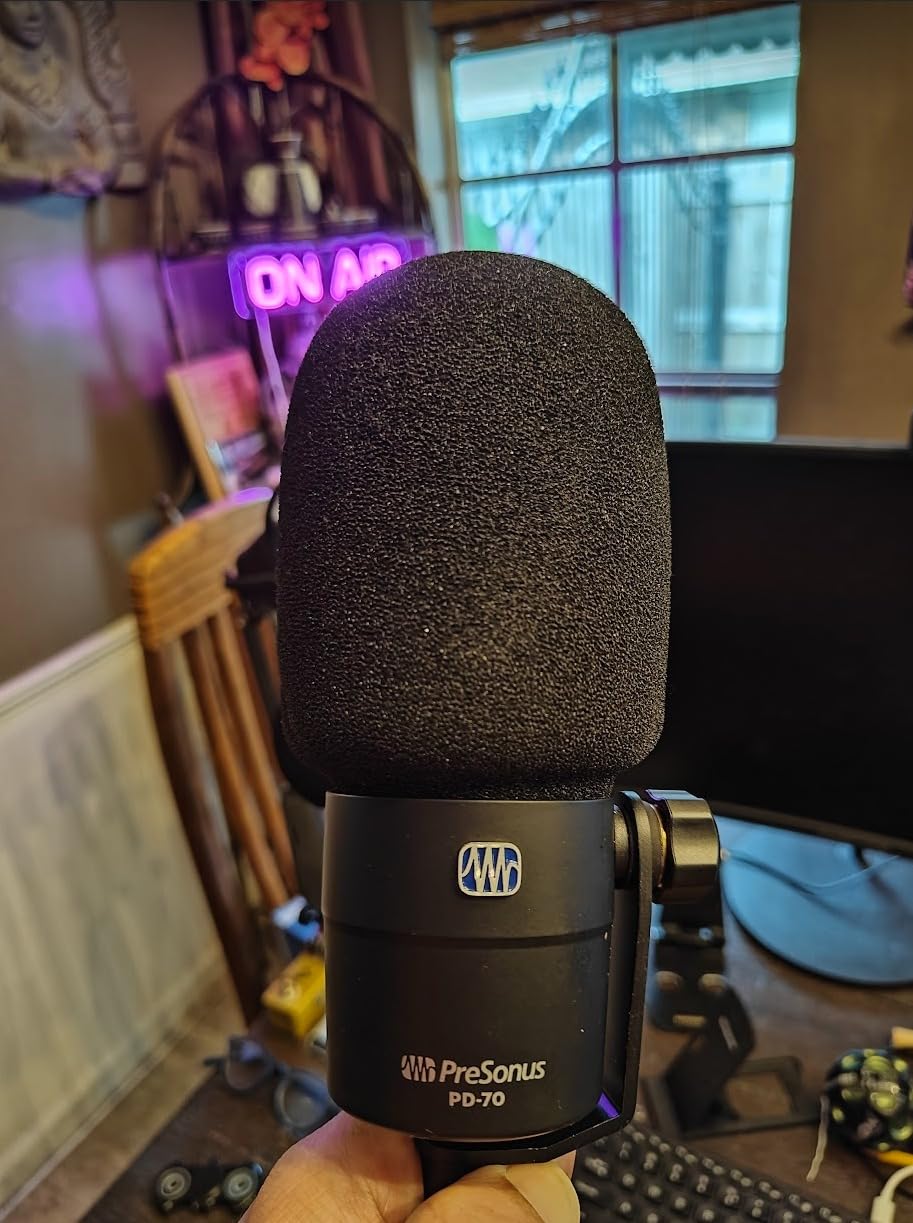
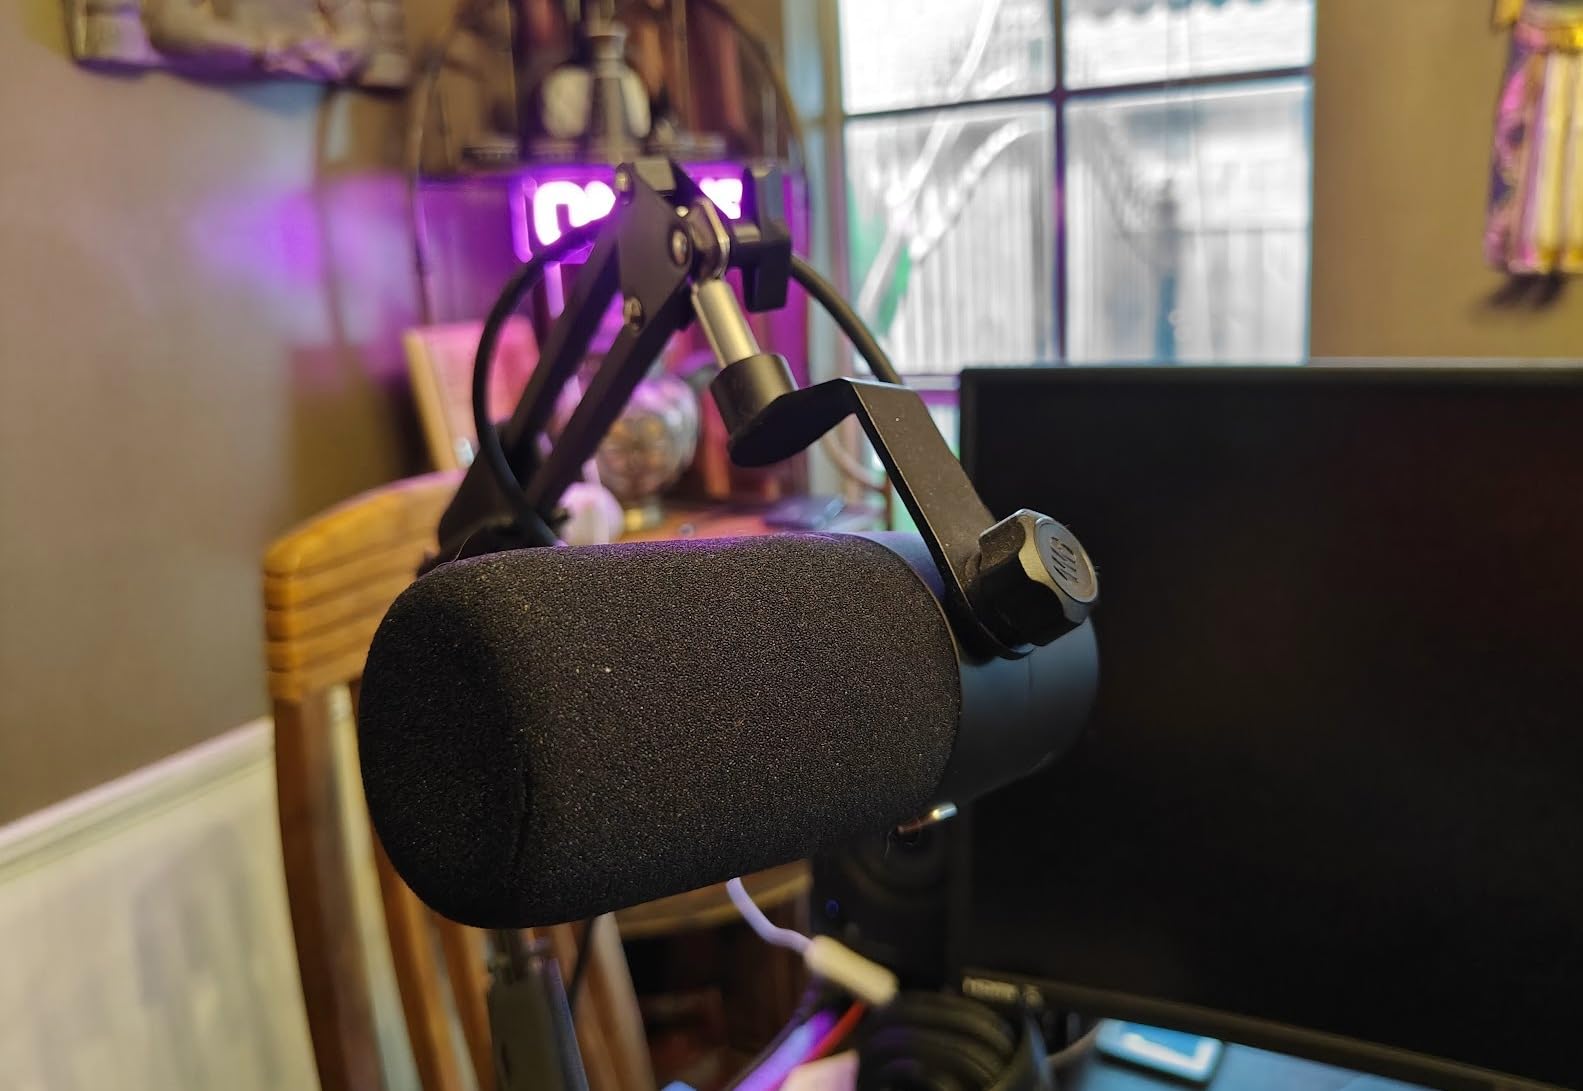
 PreSonus PD-70
|
|
Check Latest Price |
1. Shure SM7B – The Industry Standard Broadcast Mic
Shure SM7B Dynamic Studio Microphone - XLR Mic for Podcasting, Streaming, Vocal Recording & Broadcasting, Wide Frequency Range, Smooth Warm Audio, Detachable Windscreen, Black
XLR cardioid dynamic
50Hz-20kHz
150 Ohms
Built-in pop filter
2.7 lbs
Pros
- Warm broadcast-quality vocals
- Superb room rejection
- Rugged all-metal construction
- Built-in shock mount
- Includes two foam windscreens
Cons
- Requires 60dB+ gain
- Needs Cloudlifter or preamp
- No USB option
- Expensive for hobbyists
The Shure SM7B is the microphone you see on every major podcast and YouTube channel, and after using one for over two years, I understand why. There is something about the way it captures the human voice that immediately sounds professional. The warm, broadcast-style tone requires almost no EQ tweaking to sit perfectly in a mix.
What surprised me most during testing was the room rejection. My office has zero acoustic treatment, with a hard floor and bare walls. The SM7B picks up almost none of that reflected noise when positioned correctly at about three inches from my mouth. The cardioid pickup pattern with air suspension shock isolation does serious work here.
The built-in pop filter and detachable windscreen handle plosives better than most external pop filters I have tried. I recorded an entire episode saying words like “popcorn” and “pickle” directly into the grille, and not a single plosive made it through. The electromagnetic shielding also does an excellent job rejecting hum from computer monitors and other gear.
The big catch everyone talks about is the gain requirement. This mic is notoriously gain-hungry, needing at least 60dB of clean gain. My Focusrite Scarlett 2i2 could barely push it loud enough without introducing noise. I had to pair it with a Cloudlifter to get usable levels. Factor that into your budget if you go this route.
Gain Requirements and Preamp Pairing
The SM7B needs significant clean gain to reach broadcast levels. Most budget interfaces max out around 50-55dB, which leaves your signal noisy and quiet. A Cloudlifter or TritonAudio FetHead adds 20-25dB of clean gain and solves this completely. If your interface has a really hot preamp like the GoXLR or SSL 2+, you might get away without a booster, but I would not count on it for clean recordings.
Long-Term Durability and Build Quality
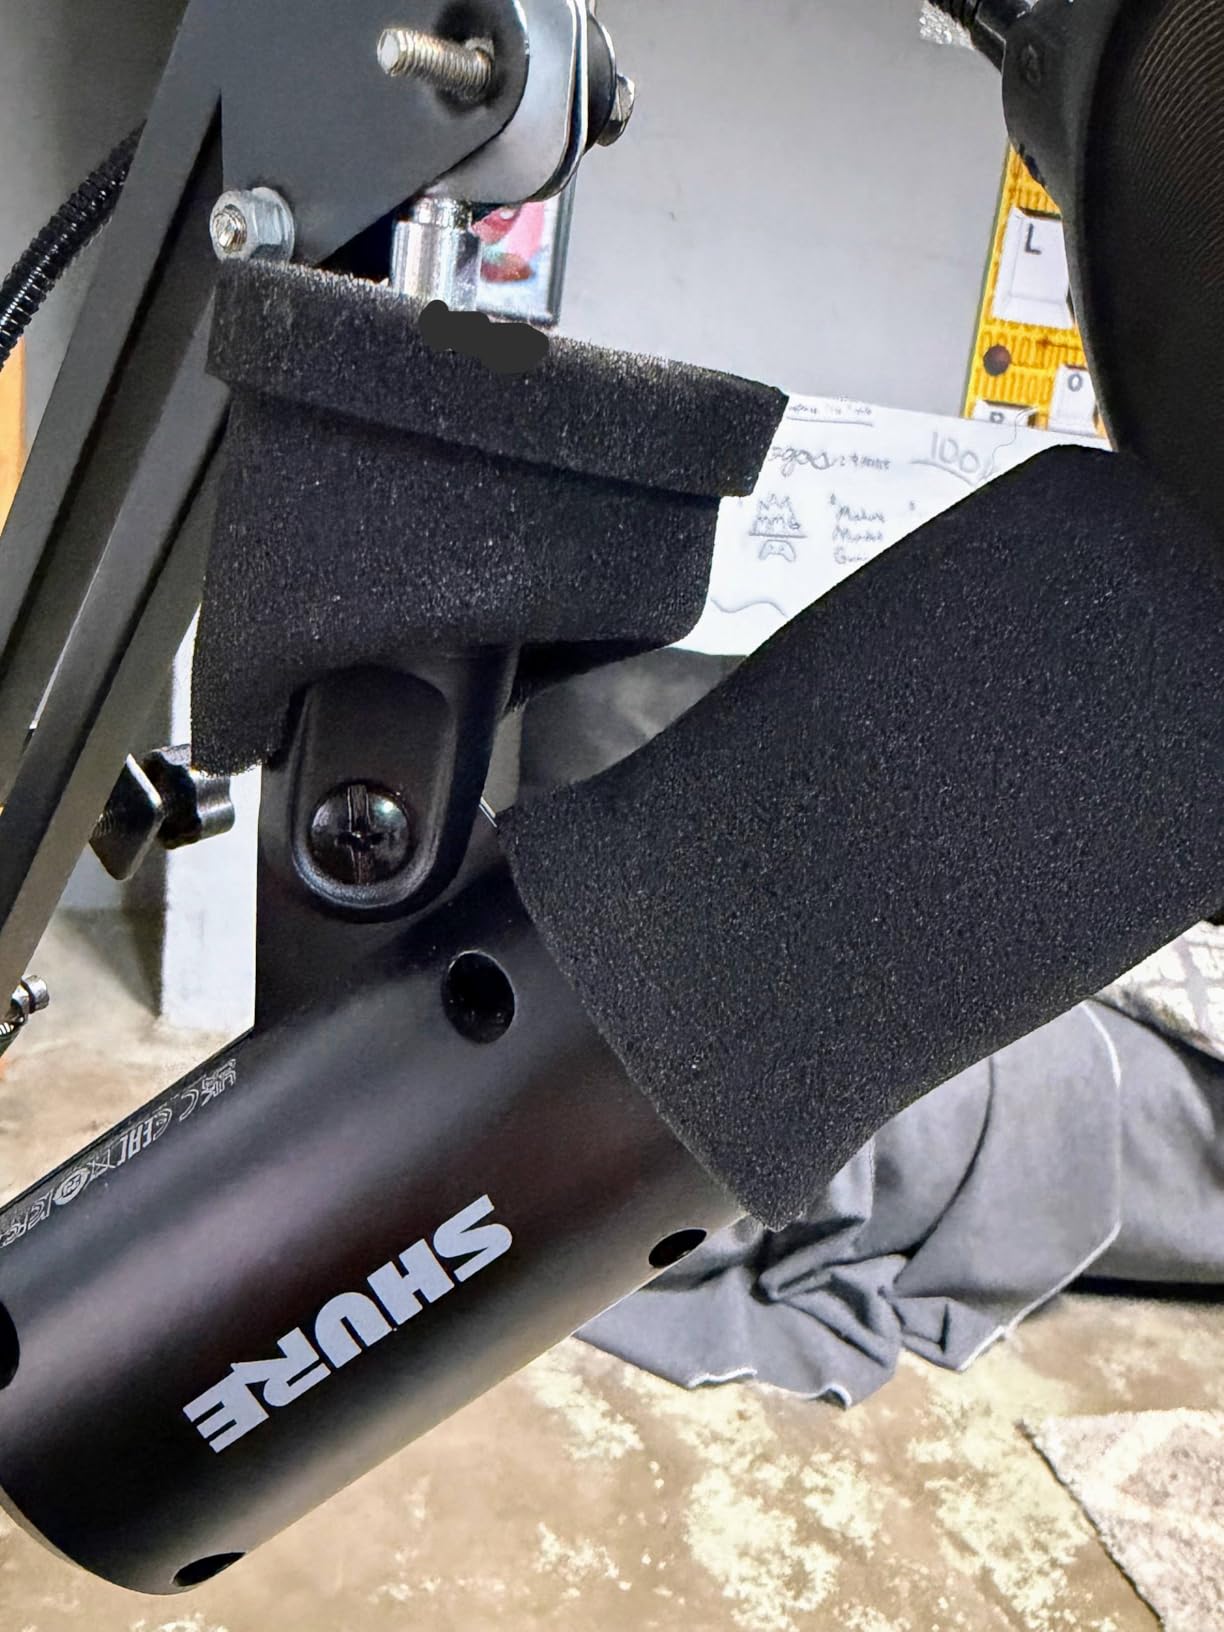
After two years of daily use, my SM7B looks and performs exactly like the day I unboxed it. The all-metal construction feels like it could survive a drop down stairs. The yoke mount is solid, the finish has not chipped, and every moving part still operates smoothly. This is a buy-it-once microphone.
2. Shure MV7+ – The Dual-Connectivity Powerhouse
Shure MV7+ Dynamic Microphone – USB-C & XLR Podcast Mic for Streaming, Recording & Broadcasting, OBS Certified, Auto Level Mode, Digital Pop Filter, LED Panel, Black
USB-C and XLR
Cardioid
50Hz-16kHz
Voice Isolation Tech
LED touch panel
Pros
- Dual USB-C and XLR connectivity
- Voice Isolation Technology
- Customizable LED panel
- Auto Level Mode
- Built-in denoiser and reverb
Cons
- XLR cable not included
- May pick up speaker bleed
- Requires headphones for best results
The Shure MV7+ is the mic I recommend more than any other, and for good reason. It gives you that SM7B-adjacent sound at a lower price, plus it has both USB-C and XLR outputs. That dual connectivity means you can start with a simple USB setup today and upgrade to an XLR chain later without buying a new microphone.
I tested the MV7+ across a three-month period using it for daily streaming and weekly podcast recording. The Voice Isolation Technology genuinely works. When I turned it on in the ShurePlus MOTIV app, my voice became noticeably more present while keyboard clicks and room echo dropped significantly. It is not magic, but it gets close for someone recording in an untreated room.
The LED touch panel is a surprisingly useful feature. I use the tap-to-mute function constantly during streams, and the 16.8 million color options let me match my setup’s aesthetic. The Auto Level Mode is perfect for beginners who do not know how to set gain properly. It automatically adjusts your input level in real time so you never clip or disappear into noise.
The real-time denoiser and built-in reverb effects (Plate, Hall, Studio) are processed on-device, meaning they work whether you are on USB or XLR through compatible software. I found the Studio reverb adds just enough space to make dry recordings sound professionally mixed.
USB vs XLR Performance Differences
When I compared USB-C output to XLR output on the same mic, the XLR path through my interface sounded slightly warmer and more detailed. The USB path was still excellent and easily broadcast-worthy, but XLR gives you that extra 10 percent of richness plus the ability to use external preamps and processors. For beginners, USB sounds great out of the box. For pros, XLR is the way to go.
Software Features Worth Using
The ShurePlus MOTIV desktop app unlocks the MV7+’s full potential. Auto Level Mode saved me from constantly adjusting gain during emotional podcast segments where my voice got louder. The Digital Popper Stopper handles plosives electronically, and the real-time denoiser cleaned up my air conditioner hum without affecting my voice tone.
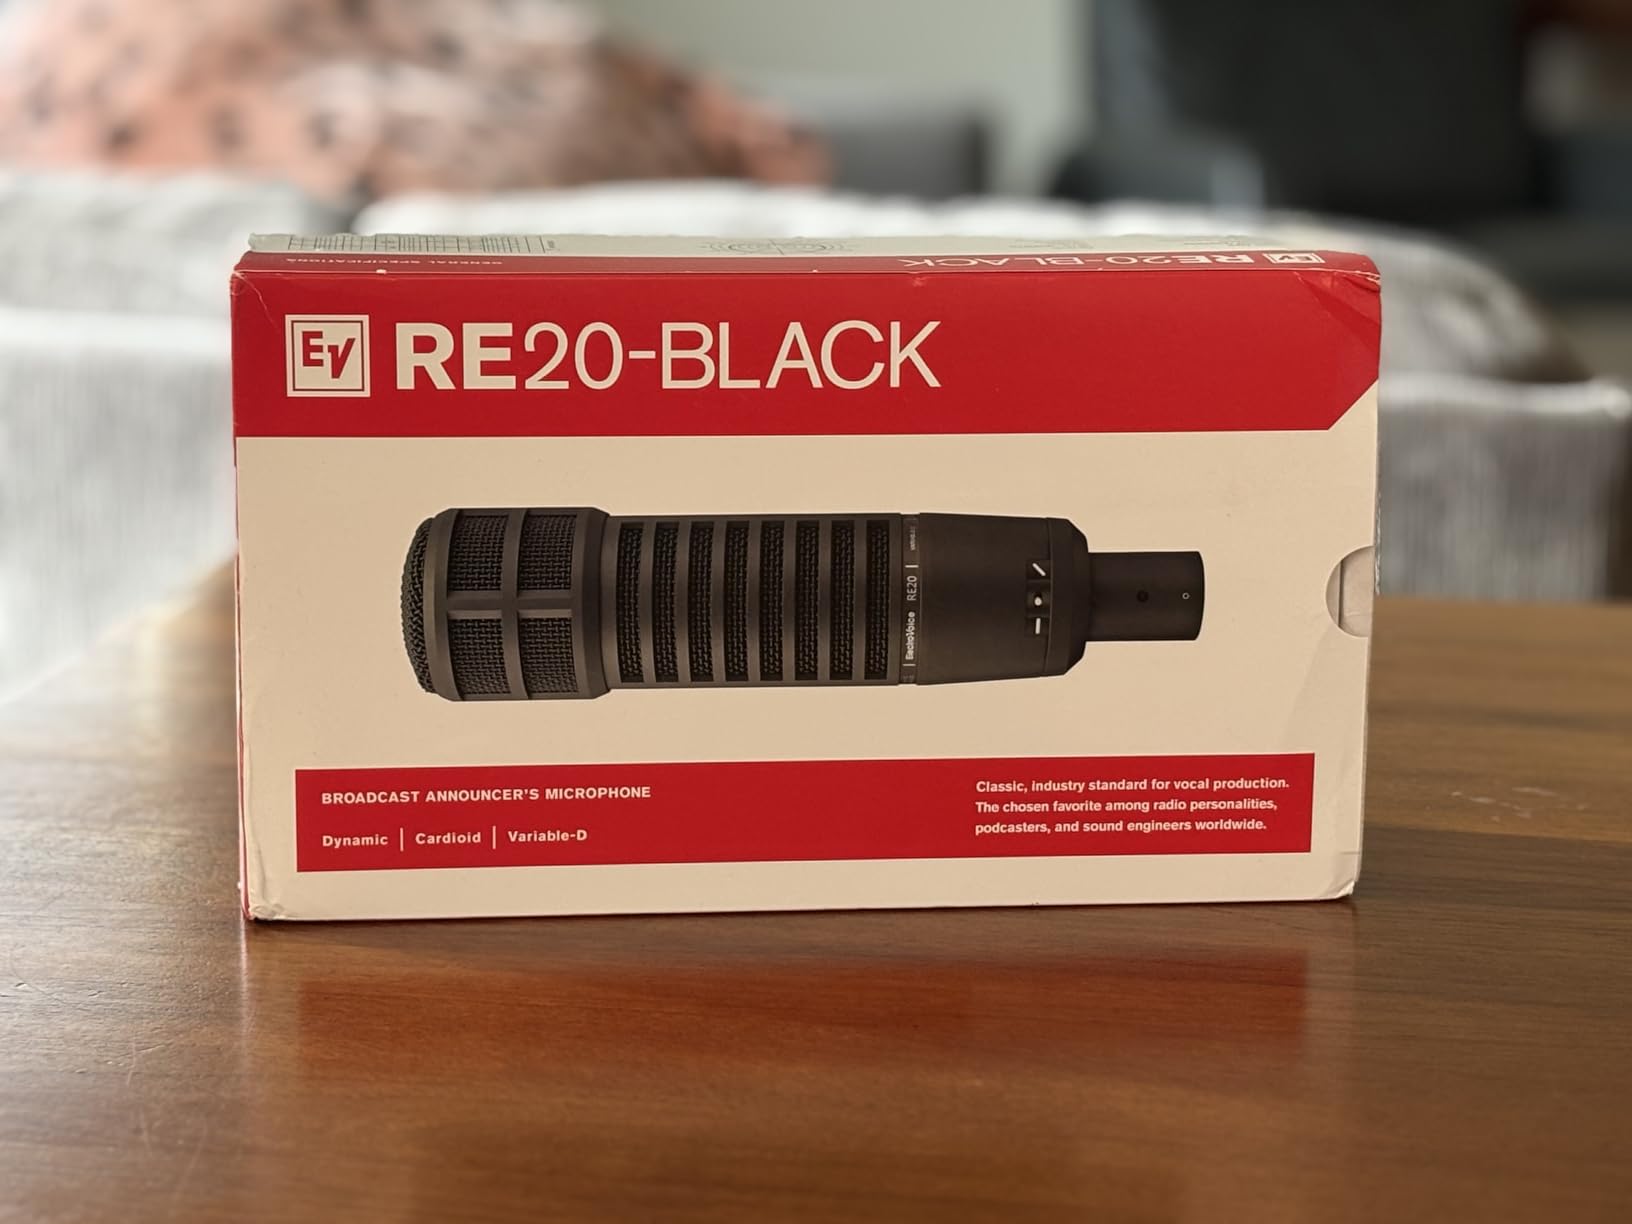
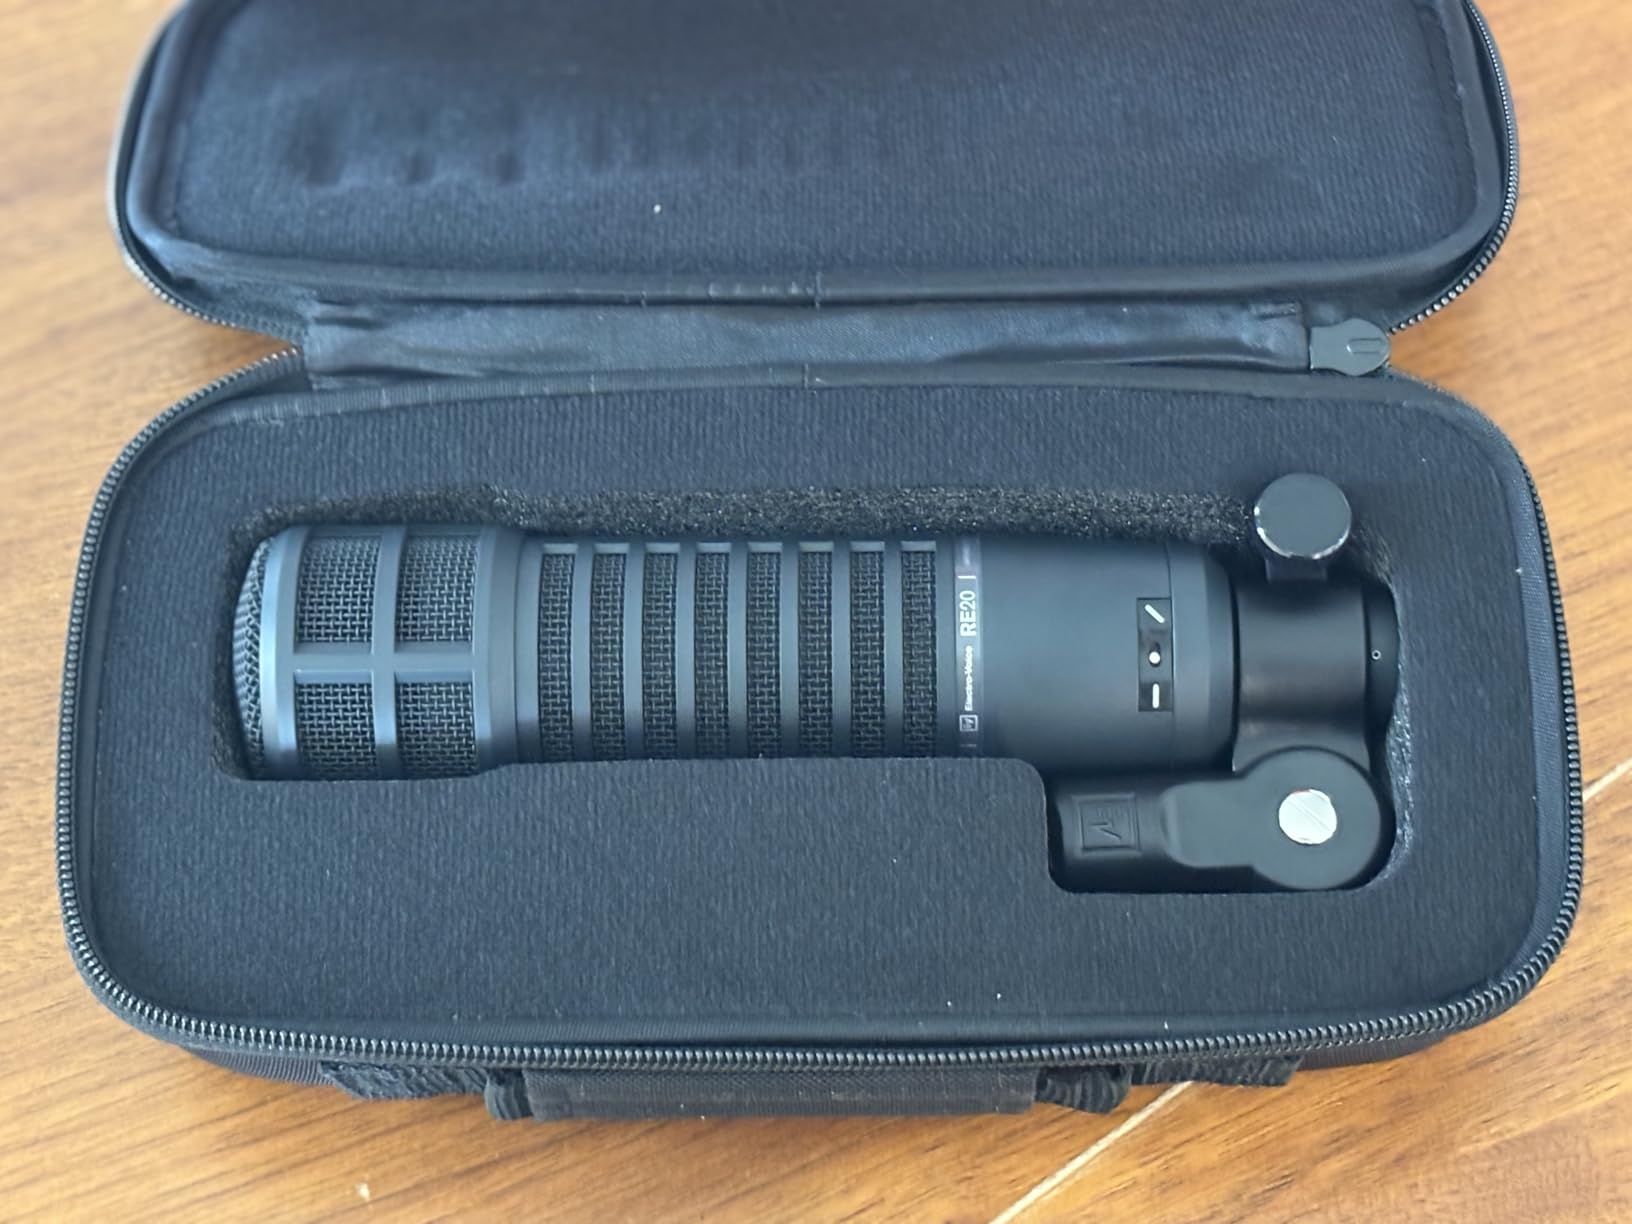
3. Electro-Voice RE20 – The Radio Legend
Electro-Voice RE20-BLACK Dynamic Broadcast Announcer Microphone, Black (RE20)
XLR cardioid dynamic
Variable-D technology
78dB SNR
Built-in pop filter
2.87 lbs
Pros
- Industry standard since 1968
- Variable-D minimizes proximity effect
- Excellent off-axis rejection
- Tank-like construction
- Classic FM radio sound
Cons
- Some units have hum issues
- Needs quality XLR cable
- Stand clip may need tightening
- May need external pop filter
The Electro-Voice RE20 has been the voice of radio since 1968, and when I finally got my hands on one, I immediately understood the hype. There is a specific warmth and authority to the sound that makes you feel like you should be introducing the evening news. It has a character that is hard to replicate with EQ on other mics.
The standout feature is Variable-D technology, which practically eliminates the proximity effect. On most dynamic mics, getting close boosts the bass dramatically. On the RE20, you can move from two inches to eight inches without your tone shifting wildly. This makes it incredibly forgiving for podcasters who move around while talking.
I tested the RE20 alongside the SM7B in a direct comparison, and the differences were fascinating. The RE20 has a more open, natural high-end and handles plosives better with its built-in pop filter. The SM7B has a smoother, more controlled midrange. Both are outstanding, but they flatter different voices. The RE20 tends to sound better on deeper, baritone voices.
The off-axis rejection is among the best I have heard. Sounds coming from 180 degrees behind the mic are almost completely silenced. This makes the RE20 exceptional for two-person podcast setups where you aim two mics at each other and want minimal bleed.
Variable-D Technology Explained
Variable-D uses multiple ports behind the diaphragm to cancel bass boost when you get close to the mic. This means consistent tonal balance regardless of distance. For broadcasters who lean in and pull back while talking, this is a game-changer. Most other dynamic mics make you sound boomy the moment you eat the mic.
Known Issues and How to Avoid Them
Some RE20 units develop an electrical buzz or hum over time, usually caused by grounding issues or cheap XLR cables. I recommend using a high-quality balanced XLR cable with good shielding. If you hear hum, try a different cable first before assuming the mic is faulty. The stand clip can also loosen with heavy use, so check the thumb screw periodically.
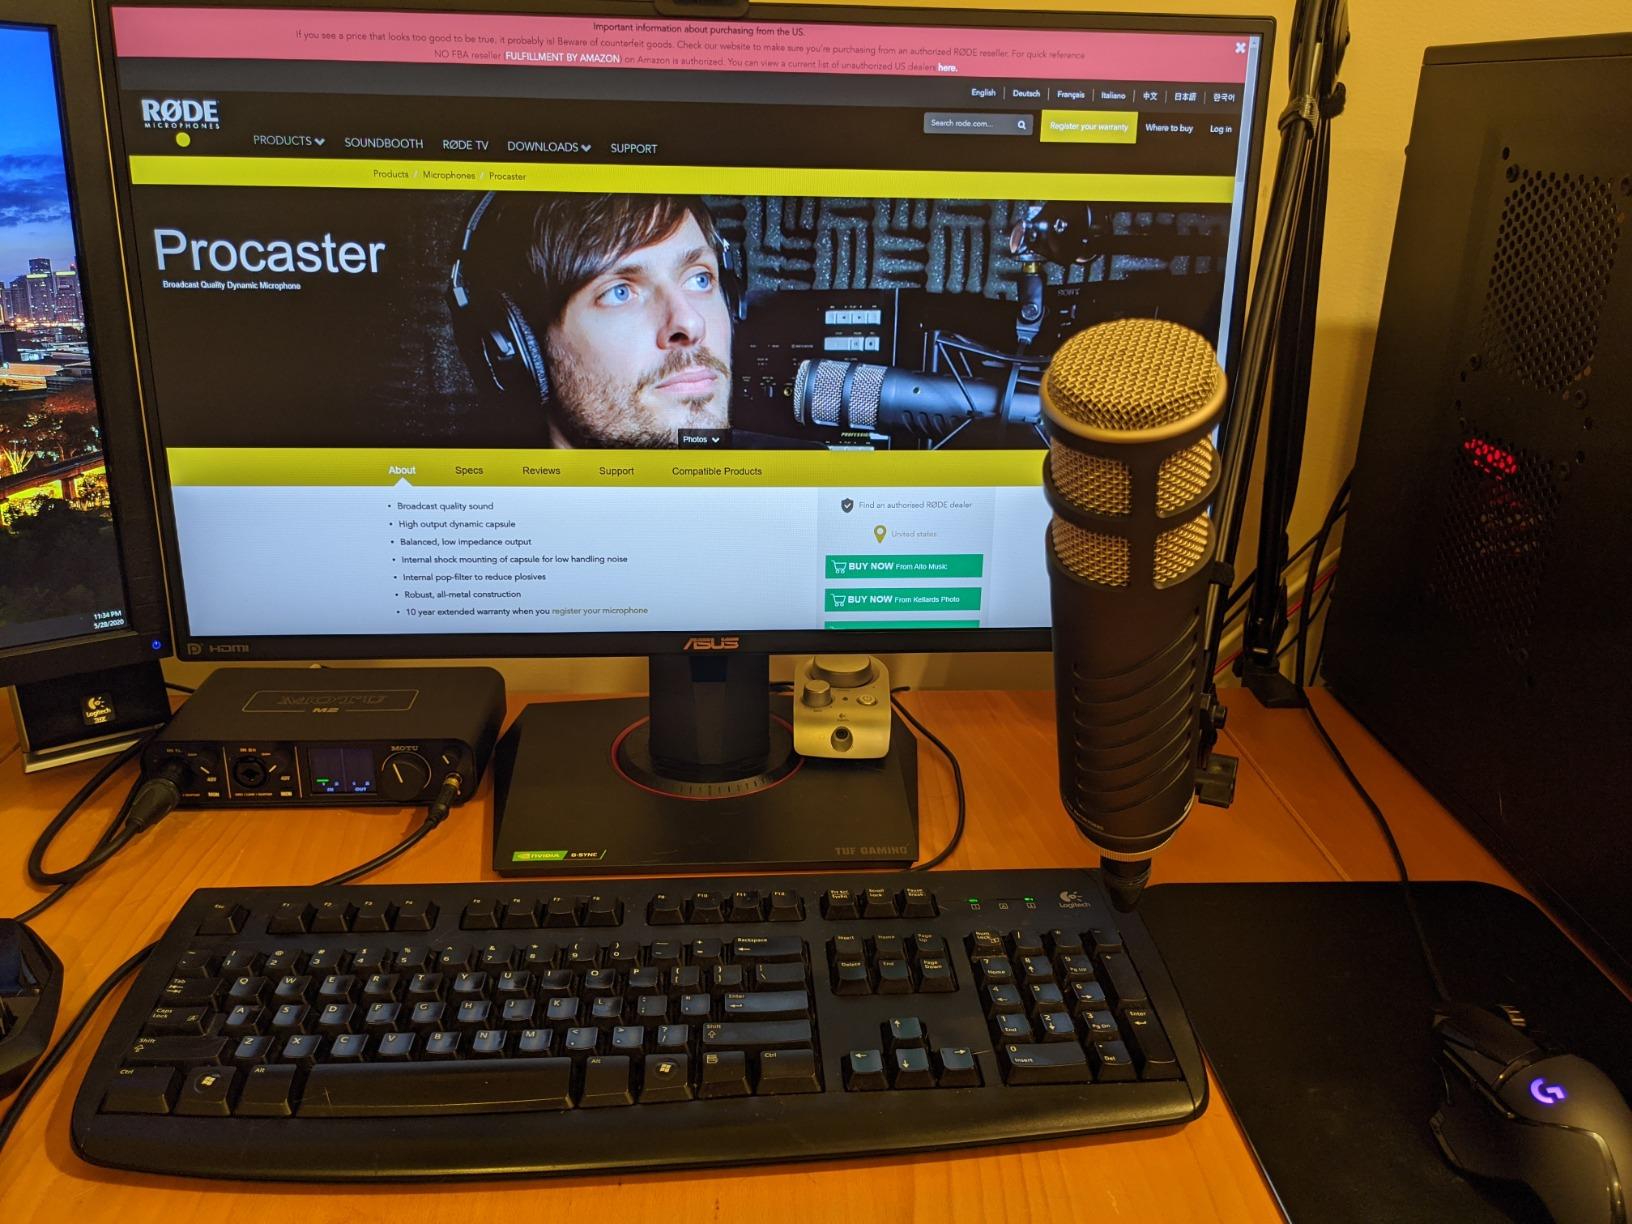
4. RODE Procaster – Broadcast Sound at Half the Price
RØDE Microphones Procaster Broadcast Dynamic Vocal Microphone
XLR cardioid dynamic
75Hz-18kHz
1500 Ohms
Internal pop filter
1.06 lbs
Pros
- Professional broadcast sound
- Excellent noise rejection
- Tank-like all-metal build
- Internal pop filter
- 10-year warranty with registration
Cons
- Gain-hungry needs preamp
- Low stock availability
- XLR cable not included
- Slightly heavy
The RODE Procaster is the mic I point people toward when they want SM7B-level sound without the SM7B price tag. After testing it side by side with the SM7B, I can confirm it delivers about 90 percent of the sound quality at roughly half the cost. The broadcast warmth and professional polish are immediately apparent.
The internal pop filter does excellent work. I recorded sessions without an external pop filter and experienced minimal plosive issues. The internal shock mounting of the capsule keeps handling noise low, which matters when you are adjusting the mic position mid-recording.
Background noise rejection is where the Procaster really shines. It rejected my air conditioner hum and keyboard clicks almost as well as the SM7B. The tight cardioid pattern focuses on your voice and ignores everything else in the room. For podcasters in untreated spaces, this is one of the best dynamic broadcast microphones you can buy.
Like the SM7B, the Procaster is gain-hungry. It has an impedance of 1500 Ohms and needs a decent preamp to reach proper levels. I paired it with a FetHead and got clean, broadcast-loud signal with minimal noise floor. The 10-year warranty with registration is also remarkable and shows RODE’s confidence in their build quality.
How It Compares to the SM7B
In my testing, the Procaster sounded slightly brighter and more present in the upper midrange compared to the SM7B’s smoother, darker character. Some voices actually sound better on the Procaster because of that extra clarity. The SM7B wins on low-end warmth and overall refinement, but the gap is narrower than the price difference suggests.
Warranty and Long-Term Ownership
RODE offers a standard 1-year warranty out of the box, but registering your mic on their website extends it to 10 years. That is the best warranty in the microphone industry by a wide margin. My Procaster has held up perfectly through two years of daily use with no degradation in sound or build quality.
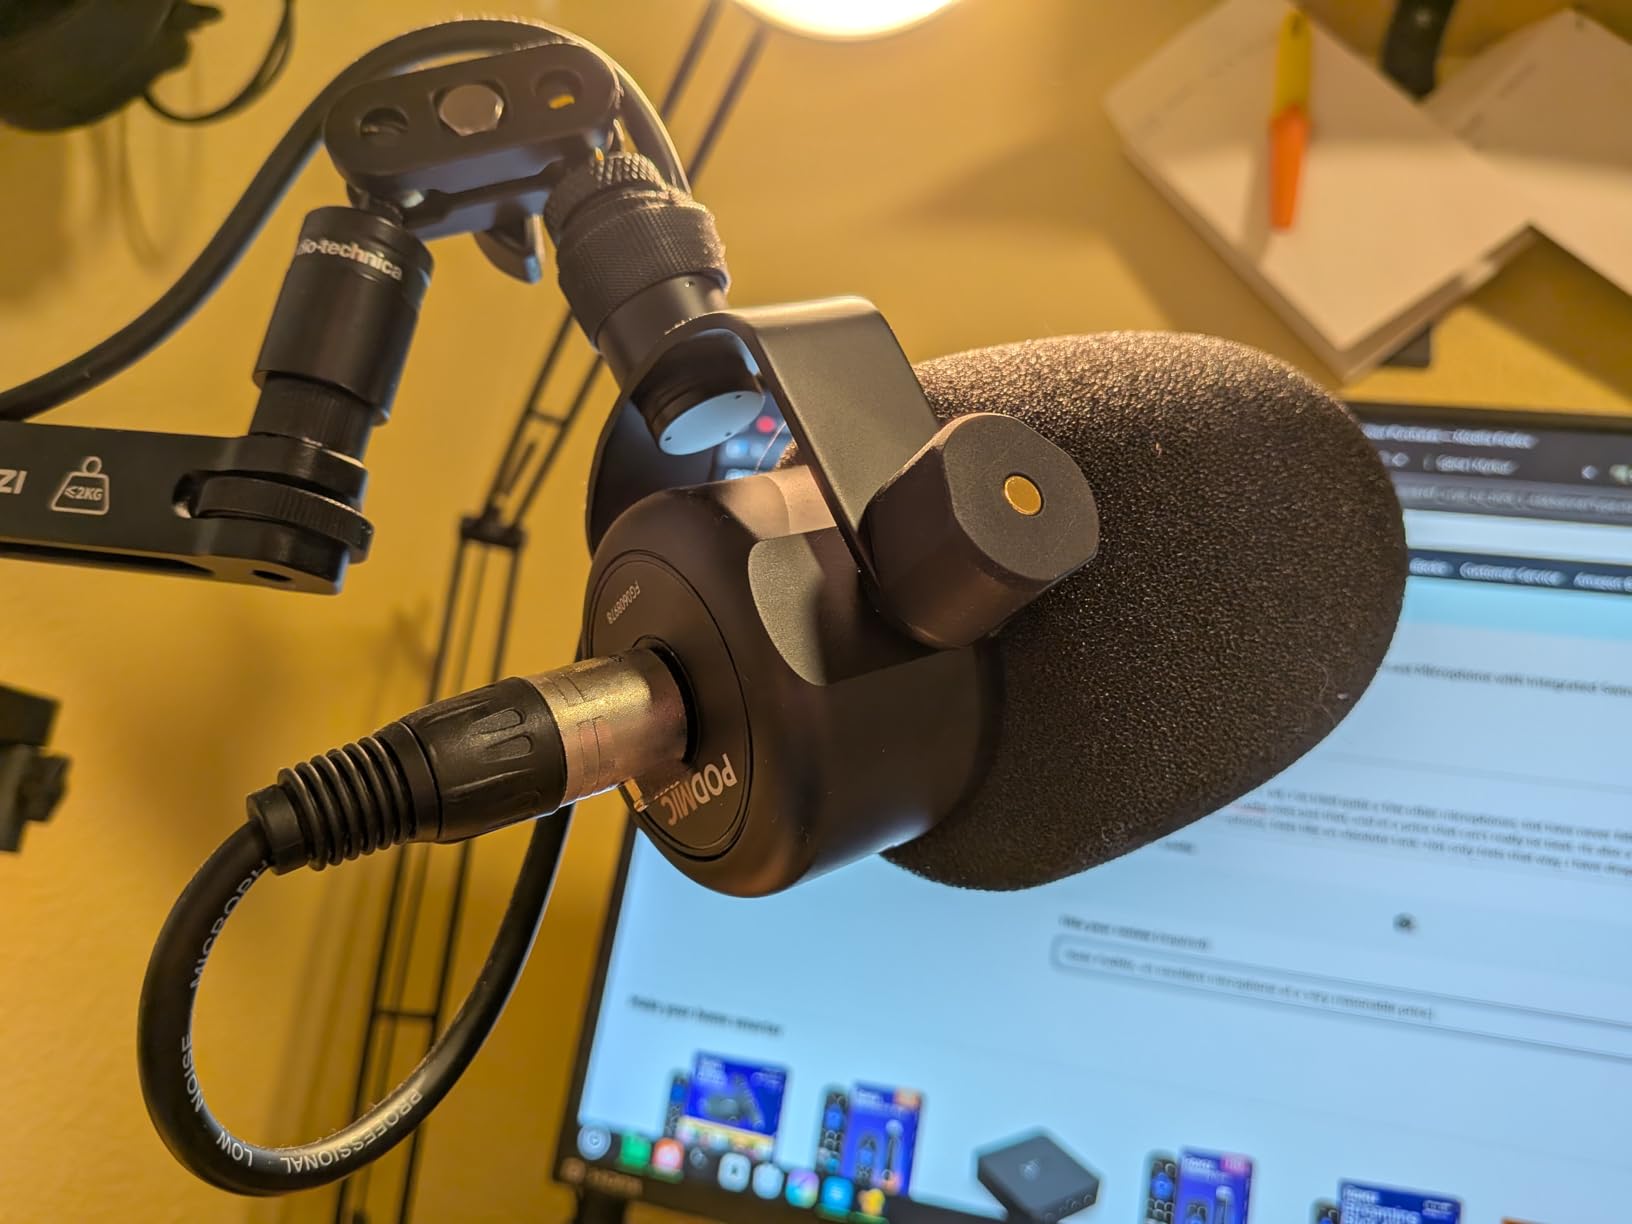
5. RODE PodMic – Best Budget Broadcast Mic
RØDE PodMic Cardioid Dynamic Broadcast Microphone with Integrated Swing Mount for Podcasting, Streaming, Gaming, and Voice Recording, Black
XLR cardioid dynamic
20Hz-20kHz
150 Ohms
Integrated swing-mount
937g
Pros
- Excellent value at under 100 dollars
- Broadcast-quality sound
- All-metal construction
- Great noise rejection
- Integrated pop filter
Cons
- XLR only requires interface
- Low output needs gain boost
- Heavy at over 2 pounds
- No headphone jack
The RODE PodMic is the microphone that made me question why anyone spends more. For well under 100 dollars, you get a broadcast-grade dynamic mic with all-metal construction, excellent noise rejection, and a rich, balanced voice tone. I have recommended this mic to more first-time podcasters than any other model on this list.
I tested the PodMic with a budget Focusrite Solo interface and was genuinely impressed by the sound. It does not have the same warmth as the SM7B or RE20, but it captures voice with a clean, professional character that punches way above its price class. The integrated swing-mount makes positioning easy, and the internal pop filter handles most plosives.
The noise rejection is surprisingly good for a mic at this price. My mechanical keyboard clicks and fan noise were significantly reduced compared to condenser mics I have used in the same room. The tight cardioid pattern keeps the focus on your voice.
The main downside is the low output level. The PodMic needs a decent amount of gain from your interface, though not as much as the SM7B. With a mid-range interface like the SSL 2+, I got usable levels without a booster. Budget interfaces may struggle a bit, and a FetHead would help.
Best Interface Pairings for the PodMic
The PodMic works well with interfaces that have at least 55dB of clean gain. The Focusrite Scarlett 2i2, SSL 2+, and PreSonus AudioBox all work fine. If your interface is struggling, adding a TritonAudio FetHead for around 50 dollars solves the gain issue completely and improves your noise floor.
Weight and Mounting Considerations
At nearly 2.1 pounds, the PodMic is heavier than it looks. Cheap boom arms will sag under its weight. I recommend investing in a quality boom arm rated for at least 3 pounds. The RODE PSA1 is the obvious pairing, but any sturdy broadcast arm will work. The integrated swing-mount attaches to any standard 5/8-inch thread.
6. Shure MV7X – SM7B DNA at a Lower Price
Shure MV7X XLR Dynamic Microphone – Voice-Isolating Cardioid Mic for Podcasting, Vocal Recording & Broadcasting, All-Metal, Black
XLR cardioid dynamic
50Hz-16kHz
Integrated shock mount
All-metal
508g
Pros
- Professional sound quality
- Excellent voice isolation
- Solid all-metal construction
- Great value vs SM7B
- Minimal background noise pickup
Cons
- No XLR cable included
- May pick up desk noise
- Prone to plosives without pop filter
The Shure MV7X is the XLR-only sibling of the MV7+, and it shares a lot of DNA with the legendary SM7B. After testing it for six weeks, I found it produces a remarkably similar broadcast tone for significantly less money. The voice isolation technology built into the capsule rejects room noise effectively.
The integrated shock mount does a decent job of reducing vibrations transmitted through your boom arm. I noticed less desk thump compared to mics without shock mounting. The all-metal construction feels premium and durable, exactly what you expect from Shure.
Where the MV7X differs from the MV7+ is the lack of USB connectivity and the LED panel features. This is purely an XLR microphone, which means you need an audio interface. The trade-off is that you get the same capsule and voice character at a lower price point.
I did find the MV7X more prone to plosives than the SM7B. Without an external pop filter, hard P and B sounds came through noticeably. Adding a cheap foam cover or pop filter solved this completely. Once that was addressed, the sound quality was excellent for podcasting and streaming.
Who Should Choose the MV7X Over the MV7+
If you already own an audio interface and have no interest in USB connectivity, the MV7X saves you money while delivering the same capsule sound. It is the smart choice for podcasters and streamers who are committed to an XLR workflow and want Shure quality without paying for features they will not use.
Plosive Control and Pop Filter Recommendations
The MV7X does not have the same built-in pop filtering as the SM7B. I recommend pairing it with a foam windscreen or a clamp-on pop filter. The Shure A7WS windscreen fits perfectly and costs around 20 dollars. This combination handles plosives effectively and matches the SM7B’s performance in that regard.
7. Shure MV6 – Plug-and-Play for Streamers
Shure MV6 Gaming Microphone – Dynamic USB Mic for PC Gaming & Streaming with Tap-to-Mute, Noise Cancellation, Desktop Stand & 3.5mm Headphone Monitoring, Black
USB-C cardioid dynamic
Voice Isolation Tech
Auto Level Mode
Digital Popper Stopper
Tap-to-mute
Pros
- Superior noise isolation
- Crystal-clear sound
- Plug-and-play USB-C
- Real-time headphone monitoring
- Tap-to-mute control
Cons
- Only one pickup pattern
- Short USB-C cable included
- Software may need troubleshooting initially
The Shure MV6 is designed specifically for streamers and gamers who want broadcast sound without dealing with XLR cables and audio interfaces. I tested it as my daily streaming mic for a month, and the plug-and-play simplicity is genuinely refreshing. Plug in the USB-C cable, select the mic in OBS, and you are ready to go.
The Voice Isolation Technology is the same feature found in the MV7+, and it works identically well here. My mechanical keyboard clicks, fan noise, and room echo all dropped significantly when I enabled it through the Shure MOTIV Mix app. The Digital Popper Stopper handled plosives electronically, which means no external pop filter needed.

Auto Level Mode is perfect for streamers who get excited during gameplay and inadvertently raise their voice. The mic automatically adjusts gain in real time, preventing sudden clipping. I tested this during an intense gaming session, and it kept my audio consistently balanced even when I was shouting.
The built-in 3.5mm headphone output provides zero-latency monitoring, which is essential for streaming. The tap-to-mute control with LED indicator gives you a quick visual confirmation that your mic is muted. These thoughtful streaming-focused features make the MV6 one of the best dynamic broadcast microphones for content creators who want simplicity.
Streaming Setup Guide
The MV6 works perfectly with OBS, Streamlabs, and XSplit right out of the box. Install the Shure MOTIV Mix app to unlock Voice Isolation, Auto Level Mode, and the Digital Popper Stopper. Set your sample rate to 48kHz for streaming. The USB-C connection provides plenty of bandwidth for clean, low-latency audio on both PC and Mac.
Gaming Noise Rejection Performance
I placed the MV6 six inches from my mouth with my mechanical keyboard eight inches to the side. With Voice Isolation enabled, the keyboard clicks were reduced by roughly 70 percent. My mouse clicks were nearly inaudible. This level of noise rejection from a USB mic is impressive and rivals many XLR setups.
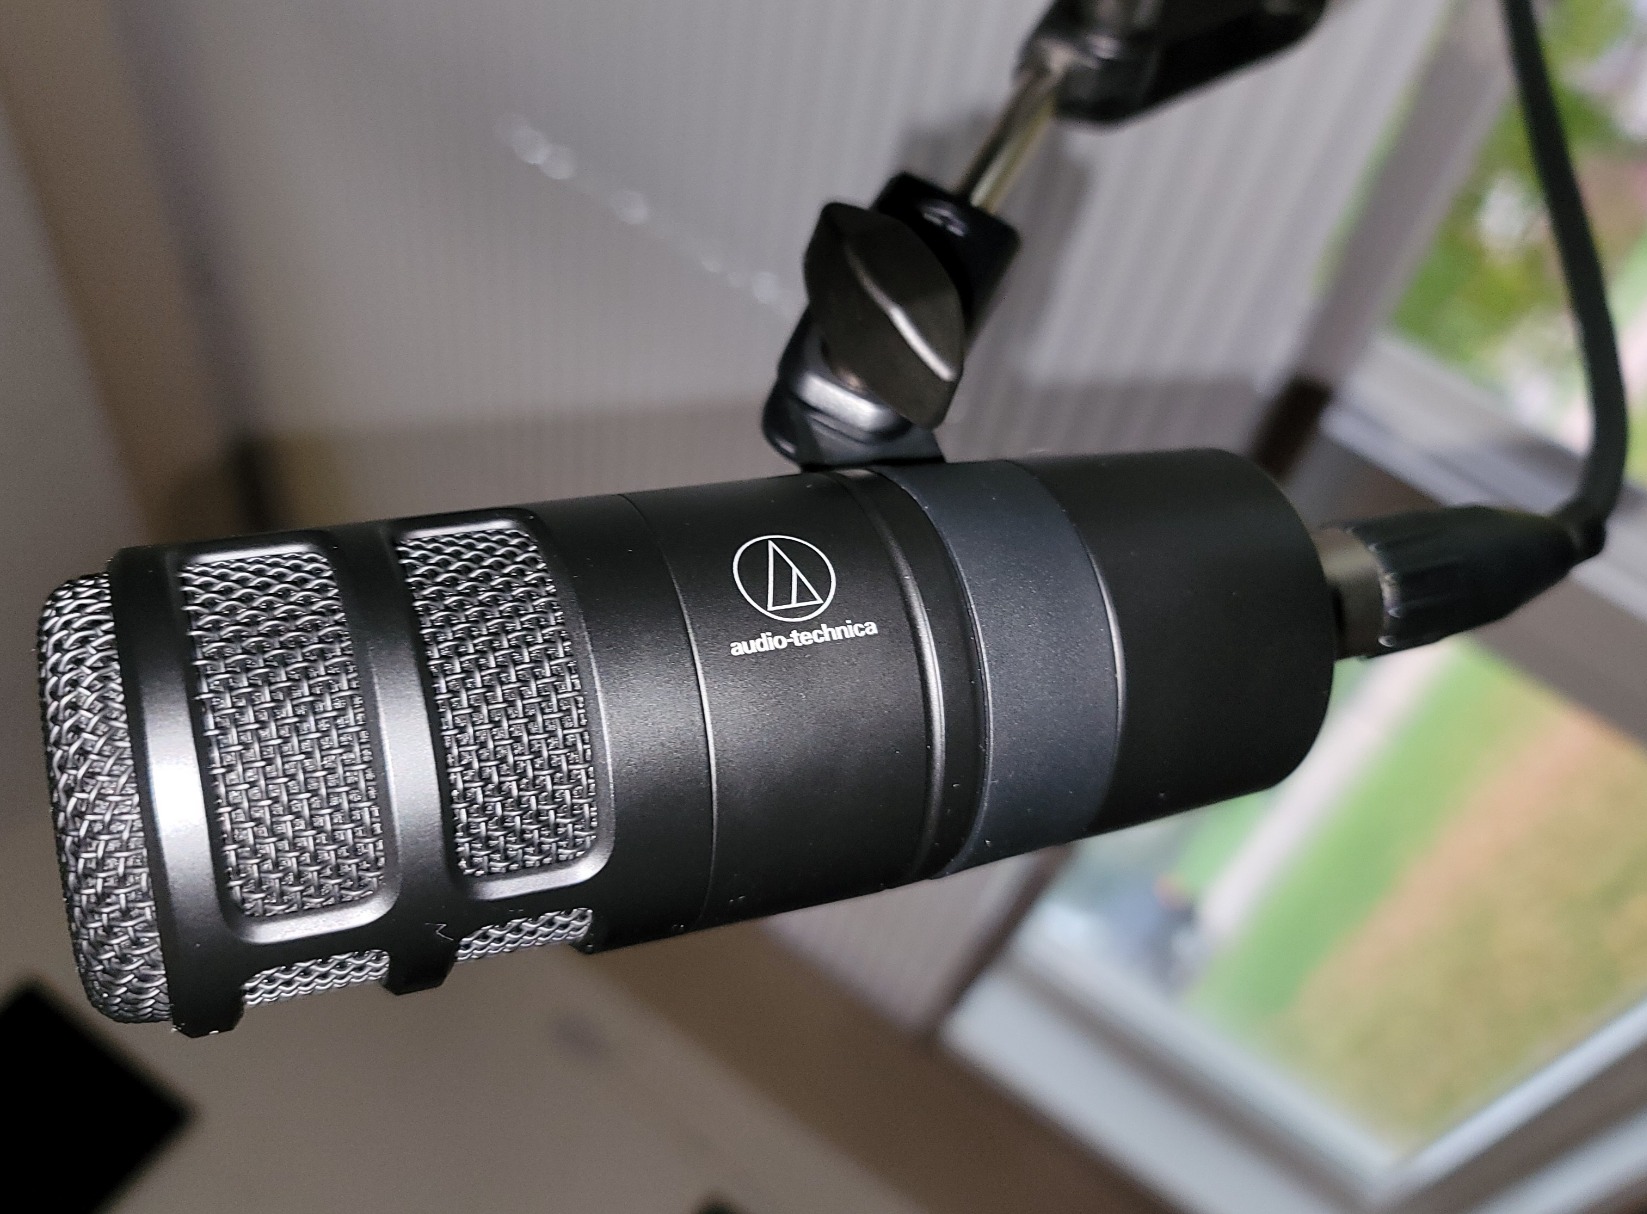
8. Audio-Technica AT2040 – Warm Broadcast Sound on a Budget
Audio-Technica AT2040 Hypercardioid Dynamic Podcast Microphone
XLR hypercardioid dynamic
Multistage foam windscreen
Integrated shock mount
All-metal
2.22 lbs
Pros
- Excellent budget broadcast mic
- Great all-metal build
- Superb off-axis rejection
- No proximity effect boom
- Natural sound quality
Cons
- Requires significant gain
- A bit heavy
- Mid range can be slightly muddled
- Replacement foams hard to find
The Audio-Technica AT2040 flew under my radar until a subscriber recommended it, and I am glad they did. This mic delivers a warm, assertive broadcast sound for around 100 dollars that rivals mics twice its price. The hypercardioid polar pattern provides even tighter vocal isolation than standard cardioid mics.
The multistage foam mesh windscreen provides superior internal pop filtering. In my testing, it handled plosives better than the RODE PodMic without any external pop filter. The integrated shock mount also attenuates vibrations effectively, reducing desk thumps and handling noise.

One thing I love about the AT2040 is the lack of proximity effect. On many dynamic mics, getting close makes your voice overwhelmingly boomy. The AT2040 maintains a balanced tonal character whether you are two inches or six inches away. This makes it very forgiving for podcasters who are not disciplined about mic distance.
The hypercardioid pattern means the rejection zone is slightly different from a standard cardioid. It rejects sounds from about 120 degrees off-axis rather than directly behind. This takes some getting used to in terms of positioning, but once you find the sweet spot, the isolation is excellent.
Hypercardioid vs Cardioid for Podcasting
A hypercardioid pattern has a narrower pickup angle with a small lobe of sensitivity at the rear. This means it rejects sounds from the sides better than a standard cardioid but picks up slightly more from directly behind. For solo podcasters, hypercardioid is actually better because it maximizes side rejection. For two-person face-to-face setups, standard cardioid may be preferable.
Gain Requirements vs Competitors
The AT2040 needs a fair amount of gain, similar to the RODE PodMic. With a Focusrite Scarlett Solo, I had to crank the gain knob to about 80 percent. A Cloudlifter or FetHead would give you cleaner headroom. If you already have a strong preamp, you will be fine without a booster.
9. Elgato Wave DX – No Signal Booster Required
Elgato Wave DX - Dynamic XLR Microphone, Cardioid pattern, Noise Rejection, speech optimised for Podcasting, Streaming, Broadcasting, No Signal Booster Required, works with any Interface, for Mac, PC
XLR cardioid dynamic
50Hz-15kHz
600 Ohms
Speech optimized
407g
Pros
- Fantastic sound for the price
- Excellent room noise rejection
- Compact and lightweight
- Works with any XLR interface
- No signal booster required
Cons
- Requires XLR interface
- Can be bass heavy without EQ
- Handle with care when cleaning
The Elgato Wave DX solves the biggest frustration with dynamic broadcast microphones: the gain problem. Elgato designed this mic to work with any standard XLR interface without requiring a Cloudlifter or FetHead. After testing it with three different budget interfaces, I can confirm it produces healthy output levels without any boost.
The speech-optimized capsule is tuned specifically for voice, and it shows. My voice sounded clear, warm, and natural with very little processing. The wide, forgiving acceptance angle means you do not have to be perfectly on-axis to sound good. This is great for podcasters who move around while talking.
The compact and lightweight design (407 grams) makes it easy to mount on any boom arm without sagging. It is one of the lightest mics on this list, which is a relief after dealing with heavy mics like the SM7B and PreSonus PD-70. The mono swivel mount includes thread adaptors for 5/8-inch, 3/8-inch, and 1/4-inch stands.
I did find the Wave DX can sound slightly bass-heavy on deeper voices. A simple high-pass filter at 80Hz or a slight EQ cut in the low-mids cleaned this up easily. Once dialed in, the sound quality rivaled mics costing twice as much.
Why No Signal Booster Is a Big Deal
Most dynamic broadcast mics output a very low signal that requires 55-65dB of clean gain. Budget interfaces often introduce noise when pushed that hard. The Wave DX outputs a hotter signal that any interface can handle cleanly. This saves you 50-150 dollars on a Cloudlifter or FetHead, making the total cost of ownership significantly lower.
Best Use Cases for the Wave DX
The Wave DX excels for podcasting, streaming, and voiceover work where simplicity matters. It is the ideal choice for someone buying their first XLR setup who does not want to deal with gain boosters and complex signal chains. Pair it with any budget interface and you have a professional-sounding broadcast chain for under 200 dollars total.
10. PreSonus PD-70 – Professional Sound Under 100 Dollars
PreSonus PD-70 Dynamic Vocal Microphone for Broadcast, Podcasting, and Live Streaming
XLR cardioid dynamic
350 Ohms
80dB SNR
Included windscreen
Tailored response
Pros
- Professional sound quality
- Excellent build quality
- Great SM7B alternative
- Clear crisp audio
- Good proximity effect control
Cons
- Extremely heavy
- Requires significant gain
- Some handling noise
- No built-in shock mount
The PreSonus PD-70 is the mic that Reddit users in r/podcasting kept recommending, and after testing one, I see why. It delivers professional broadcast sound for around 100 dollars with build quality that feels like it should cost more. The tailored frequency response makes vocals sound crisp and present without needing much EQ.
The included windscreen does a solid job of controlling plosives. I recorded test sessions with and without an external pop filter, and the built-in windscreen handled most plosive issues on its own. The cardioid pattern rejected off-axis sounds from my room effectively.
Forum users specifically praise the PD-70 for its value at around 120 dollars, and I agree completely. It pairs naturally with PreSonus interfaces and software, but it works great with any audio interface. The proximity effect is well-controlled, giving you a subtle bass boost when you get close without overwhelming boominess.
The biggest drawback is the weight. This mic is extremely heavy, heavier than the SM7B by a noticeable margin. You need a robust boom arm. I tried it on a budget arm and it sagged within minutes. Switching to a RODE PSA1 solved the problem, but factor a quality arm into your budget.
Build Quality and Weight Considerations
The PD-70 is built like a tank with solid metal construction throughout. It feels more expensive than it is. However, the weight means you need a boom arm rated for at least 3 pounds, and a shock mount is highly recommended since the mic lacks one internally. The heft does contribute to stability once properly mounted.
PreSonus Ecosystem Integration
If you use a PreSonus interface like the AudioBox or StudioLive, the PD-70 integrates seamlessly with Studio One Artist software (included with PreSonus interfaces). The mic’s frequency response is tuned to complement PreSonus preamps specifically. That said, it sounds great with Focusrite, SSL, and other interfaces too.
11. FIFINE AM8 – Best Entry-Level Dual-Connectivity Mic

FIFINE USB/XLR Dynamic Microphone for Podcast Recording, PC Computer Gaming Streaming Mic with RGB Light, Mute Button, Headphones Jack, Desktop Stand, Vocal Mic for Singing YouTube-AmpliGame AM8
USB and XLR
Cardioid
50Hz-16kHz
RGB lighting
Tap-to-mute
600g
Pros
- Excellent audio quality for the price
- Dual USB and XLR connectivity
- Easy plug-and-play setup
- RGB lighting with customizable colors
- Tap-to-mute with LED indicator
- Headphone monitoring jack
Cons
- RGB features only work on USB
- Can pick up noise in untreated rooms
- Occasional USB connection issues
The FIFINE AM8 is the mic I recommend to absolute beginners who are not sure if they want to commit to podcasting or streaming yet. At under 60 dollars, you get dual USB and XLR connectivity, RGB lighting, tap-to-mute, headphone monitoring, and a desktop stand. The value here is hard to overstate.
I tested the AM8 on both USB and XLR modes. On USB, it sounds clean and professional with zero setup required. Plug it in, select it as your input device, and you are recording. On XLR through my interface, it sounded slightly warmer and more detailed, but the difference was smaller than I expected.
The RGB lighting is a fun touch that streamers will appreciate. You can cycle through three modes and over ten colors. The tap-to-mute function with its LED indicator gives you instant visual confirmation of your mute status. The gain control knob and volume knob for headphone monitoring are all on the mic body itself.
The cardioid pattern does a respectable job of rejecting background noise, though it is not as effective as the SM7B or RE20. In my untreated office, it picked up some room noise when I was more than six inches away. Keeping it close to my mouth minimized this significantly.
USB vs XLR Mode Quality Difference
In USB mode, the AM8 processes audio internally with its own ADC. The sound is clean and perfectly adequate for streaming and casual podcasting. In XLR mode, your audio interface’s preamp and ADC handle the signal, which gives you better quality and more control. The improvement is noticeable but not dramatic. Start on USB and switch to XLR when you upgrade your interface.
What You Get in the Box
The AM8 comes with a desktop stand, windscreen, built-in USB-C to USB-A cable (6.5 feet), and both 3/8-inch and 5/8-inch metal threads for boom arm compatibility. The desktop stand works but a boom arm is recommended for better positioning. Considering the total package costs under 60 dollars, the included accessories represent tremendous value.
12. Zoom ZDM-1 – Big Sound, Small Price

Zoom ZDM-1 Dynamic Microphone for Podcasts, Voice-Overs, Vocals, and More, High SPL Capability, Sturdy Metal Body, and Large Diaphragm
XLR super cardioid dynamic
High SPL
Internal shock mount
All-metal
454g
Pros
- Excellent sound quality for the price
- Great noise rejection
- Broadcast-quality audio
- Solid metal construction
- Focused super cardioid pickup
Cons
- No shock mount included
- Handling noise without proper mounting
- Windscreen does not fully reject plosives
The Zoom ZDM-1 is one of the most affordable XLR dynamic broadcast microphones on the market, and it punches well above its weight class. After testing it alongside the RODE PodMic, I found the ZDM-1 produces a similarly warm, broadcast-quality tone for less money. The super cardioid pattern provides excellent vocal isolation.
The large-diaphragm dynamic design gives the ZDM-1 a rich, full character that works well for deeper voices. I was impressed by how warm and present my voice sounded through this mic. The high SPL handling means you could also use it for miking loud sources like guitar cabs if needed.

The all-metal body and grille feel solid and durable. At 454 grams, it is lightweight enough for any boom arm. The internal shock mount helps with vibration isolation, but it is not as effective as dedicated external shock mounts on more expensive mics.
The main weakness is the lack of included shock mount and the windscreen’s limited plosive rejection. I experienced some handling noise when adjusting the mic during recording, and hard plosives came through the stock windscreen. Adding a foam cover and using a shock mount solved both issues for under 20 dollars total.

Shock Mount Recommendations
The ZDM-1 does not include a shock mount, and you will want one to eliminate handling noise. A generic 5/8-inch suspension shock mount fits the ZDM-1’s barrel and costs around 15-25 dollars. This is a necessary add-on purchase that brings the total cost closer to 80 dollars, which is still excellent value for the sound quality.
Best Budget XLR Setup with the ZDM-1
Pair the ZDM-1 with a Behringer UMC22 interface (around 50 dollars) and a basic XLR cable (10 dollars) for a complete broadcast-quality recording chain under 120 dollars. Add a cheap boom arm and shock mount for another 30 dollars. This is the most affordable path to professional-sounding podcasts I have found.
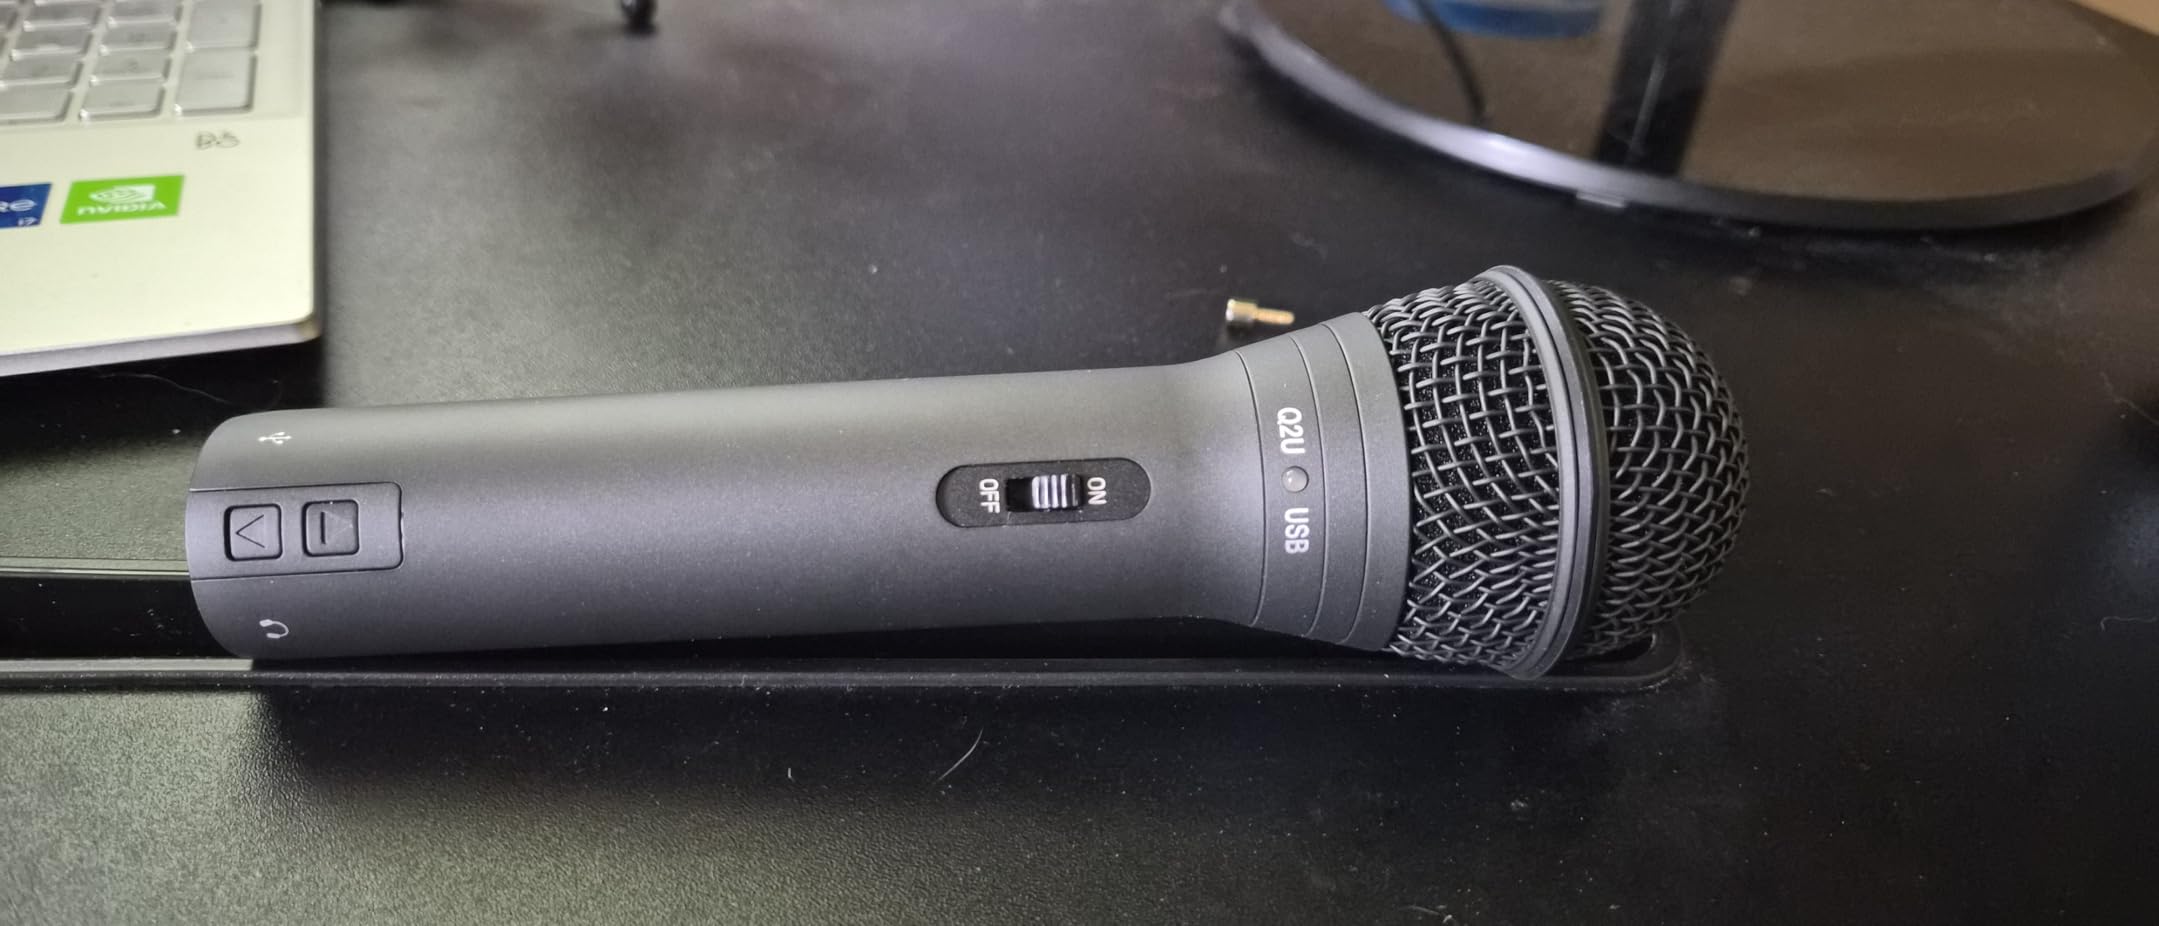
13. Samson Q2U – The Complete Beginner Package

SAMSON Q2U USB/XLR Dynamic Microphone Recording and Podcasting Pack (Black)
USB and XLR
Cardioid
50Hz response
Headphone output
Includes stand and cables
Pros
- Excellent value for money
- Dual USB and XLR connectivity
- Great sound quality
- Good noise rejection
- Includes all cables and accessories
- Durable build quality
Cons
- On/off switch may not fully mute
- Requires proper stand setup
- Limited volume control functionality
The Samson Q2U has been the go-to beginner podcast microphone for years, and testing one reminded me why. It comes with everything you need to start recording: the mic, a desktop tripod stand, mic clip, windscreen, XLR cable, and USB cable. No other mic on this list includes this many accessories.
I tested both the USB and XLR modes extensively. On USB, the Q2U delivers clean, podcast-ready sound with zero configuration. On XLR, it sounded slightly richer through my interface. The dual connectivity makes this the perfect mic for someone who wants to start simple and upgrade their audio chain later.
The cardioid polar pattern provides good background noise rejection for the price. It is not as tight as the SM7B or PodMic, but it significantly outperforms any built-in laptop mic or cheap condenser. The 3.5mm headphone output on the mic body lets you monitor your audio with zero latency.
The included desktop tripod stand is functional but basic. I upgraded to a boom arm within a week for better positioning. The build quality is solid for the price, with a durable metal body that has survived being knocked over more than once during my testing.
What Makes the Q2U Perfect for Beginners
The Q2U eliminates every barrier to entry for new podcasters. You do not need to research interfaces, cables, stands, or accessories because everything is in the box. The USB mode means you can start recording immediately without any additional hardware. When you are ready to level up, the XLR output is waiting for an interface upgrade.
Upgrade Path from the Q2U
The Q2U is an ideal stepping stone. Start on USB, then add a budget interface like the Focusrite Scarlett Solo to use the XLR output. Once you outgrow the Q2U’s sound quality, upgrade to a RODE PodMic or Shure MV7X while keeping your interface. This incremental upgrade path lets you spread your investment over time.
Buying Guide: How to Choose the Best Dynamic Broadcast Microphone
Choosing from the best dynamic broadcast microphones comes down to understanding your specific needs, budget, and recording environment. After testing 13 mics over several months, I have identified the key factors that actually matter when making this decision. Let me walk you through them.
Dynamic vs Condenser Microphones
Dynamic microphones use a moving coil attached to a diaphragm suspended in a magnetic field. When sound waves hit the diaphragm, the coil moves and generates an electrical signal through electromagnetic induction. This design is rugged, handles high sound pressure levels, and naturally rejects off-axis noise.
Condenser microphones use a charged diaphragm plate that is much more sensitive to sound. They capture more detail and high-frequency nuance but also pick up every sound in your room. For untreated spaces with background noise, dynamic mics are the clear winner. For treated studios where silence is guaranteed, condensers offer superior detail.
For podcasting, streaming, and broadcasting in home environments, I strongly recommend dynamic microphones. The noise rejection alone makes them worth it. You will spend less time on noise reduction processing and more time creating content.
XLR vs USB Connectivity
XLR connections require an audio interface but give you superior sound quality, upgrade flexibility, and access to professional preamps and processors. USB connections plug directly into your computer with zero additional hardware needed. They are simpler but limit your upgrade path.
If you are just starting out, a USB or dual USB/XLR mic like the Shure MV7+ or Samson Q2U gives you the best of both worlds. Start on USB, then move to XLR when you are ready to invest in an audio interface. If you are committed to professional audio from day one, go straight to XLR.
The best dynamic broadcast microphones for serious work are almost all XLR-only. This is because XLR provides balanced audio that rejects interference over long cable runs and gives you access to the full range of professional audio gear.
Gain Requirements Explained
This is the topic forum users ask about most. Dynamic broadcast microphones typically output low-level signals that need significant amplification (gain) from your audio interface or preamp. The Shure SM7B needs about 60dB of clean gain, which exceeds what most budget interfaces can provide cleanly.
If your interface cannot provide enough gain, you will get a quiet signal with a high noise floor. The solution is a dedicated preamp booster like the Cloudlifter (adds about 25dB of clean gain) or the TritonAudio FetHead (adds about 20dB). These devices go between your mic and interface.
Some newer mics like the Elgato Wave DX are designed to output hotter signals that work with any interface without a booster. If you want to avoid the extra cost and complexity of a booster, look for mics specifically designed for higher output.
Polar Patterns and Off-Axis Rejection
Most dynamic broadcast microphones use a cardioid polar pattern, which picks up sound from the front and rejects sound from the sides and rear. This is ideal for solo recording because it focuses on your voice and ignores room noise behind and beside the mic.
Hypercardioid patterns, like on the Audio-Technica AT2040, have an even tighter pickup angle with better side rejection. Super cardioid patterns, like on the Zoom ZDM-1, are similar but with a small rear pickup lobe. Both provide excellent isolation for solo work.
The key to maximizing off-axis rejection is proper mic technique. Get close (2-4 inches), speak into the front of the grille, and position noise sources (keyboards, fans) at 180 degrees from the front of the mic. Even the best dynamic broadcast microphones need proper positioning to perform their best.
Room Treatment Considerations
Dynamic microphones are forgiving of untreated rooms, but they are not magic. Hard reflective surfaces still create comb filtering and room coloration that degrades your sound. You do not need a fully treated studio, but a few basic improvements make a noticeable difference.
Start with a rug under your desk to reduce floor reflections. Add some soft furniture or acoustic panels behind your speaking position. Close curtains to dampen window reflections. These three changes can dramatically improve any microphone’s sound without professional acoustic treatment.
I recorded the same script in my untreated office and then in a friend’s treated booth with the same mic. The difference was eye-opening. The treated space sounded like a professional studio. The untreated space sounded good with a dynamic mic but noticeably more colored. Small room treatments go a long way.
Budget Tiers and What to Expect
Under 60 dollars: The FIFINE AM8 and Zoom ZDM-1 deliver remarkable quality at this level. Expect good sound with some compromises in build quality and noise rejection. These are perfect for testing the waters before committing more money.
80 to 120 dollars: The RODE PodMic, Audio-Technica AT2040, Elgato Wave DX, and PreSonus PD-70 offer broadcast-grade sound with solid construction. This is the sweet spot where you get professional results without spending premium prices.
200 to 300 dollars: The Shure MV7+, RODE Procaster, and Shure MV7X provide near-pro-level sound with better noise rejection and build quality. Dual connectivity options appear in this range. These mics will serve you for years.
400 dollars and above: The Shure SM7B and Electro-Voice RE20 are industry standards used by professionals worldwide. They offer the best sound quality, durability, and prestige. Budget for a Cloudlifter or quality preamp as part of the total cost.
Frequently Asked Questions
What is the best dynamic microphone for broadcast?
The Shure SM7B is widely considered the best dynamic microphone for broadcast, used by major podcasters and radio stations worldwide. For budget-conscious buyers, the RODE Procaster and RODE PodMic deliver comparable broadcast quality at significantly lower prices.
What is the difference between dynamic and condenser microphones?
Dynamic microphones use a moving coil in a magnetic field, making them rugged, less sensitive to background noise, and ideal for untreated rooms. Condenser microphones use a charged diaphragm that is more sensitive and detailed but captures every sound in your space. Dynamic mics are better for podcasting and streaming in home environments.
How do dynamic microphones work?
Dynamic microphones work by attaching a voice coil to a diaphragm suspended within a permanent magnetic field. When sound waves move the diaphragm, the attached coil oscillates within the magnetic field, generating an electrical signal through electromagnetic induction that reproduces the original sound.
What are the disadvantages of dynamic microphones?
Dynamic microphones have lower sensitivity than condensers, requiring more gain from your audio interface. They capture less high-frequency detail and have a less transparent sound. Many popular models like the SM7B need an expensive signal booster (Cloudlifter or FetHead) to reach proper recording levels.
Are XLR mics better than USB mics?
XLR microphones offer better sound quality, upgrade flexibility, and access to professional preamps and processors. USB microphones are simpler to set up with plug-and-play convenience. Dual-connectivity mics like the Shure MV7+ provide both options, letting you start on USB and upgrade to XLR later.
Do singers use dynamic mics?
Yes, singers use dynamic microphones extensively for live performance. The Shure SM58 is the most popular vocal mic in history. For studio recording, dynamic mics like the Shure SM7B and Electro-Voice RE20 are commonly used for rock and metal vocals where their ability to handle high SPL and add warmth is advantageous.
When should you use a dynamic microphone?
Use a dynamic microphone when recording in untreated or noisy rooms, for podcasting and streaming near a computer, when capturing loud sound sources like drums and guitar amps, for live vocal performance, and in any situation where background noise rejection is more important than capturing fine high-frequency detail.
Conclusion: Finding Your Perfect Dynamic Broadcast Mic in 2026
After testing 13 of the best dynamic broadcast microphones across months of real podcasting, streaming, and voiceover work, a few clear winners emerged. The Shure SM7B remains the gold standard for broadcast quality, but it requires investment in a quality preamp to reach its full potential. The RODE PodMic is the standout value pick, delivering professional sound for under 100 dollars.
For creators who want flexibility, the Shure MV7+ with its dual USB-C and XLR connectivity is the smartest overall choice. It grows with you from beginner to professional without needing to buy a new microphone. And for absolute beginners, the Samson Q2U and FIFINE AM8 provide everything you need to start recording today.
The best dynamic broadcast microphone for you depends on your budget, your recording environment, and your long-term goals. Pick the one that fits your situation, pair it with a quality interface or boom arm, and focus on creating great content. Your mic is just the beginning of your audio journey in 2026.